Next week (May 11th) I will be running a crochet workshop at the local church where I take my daughter for toddler time. It started as a mention that I would like to sell some things on Etsy, which progressed to me having a handmade stall, to me doing this workshop. Anyway, I got so caught up in all the crochet things that I wanted to make, I didn’t really consider what people would want to buy. I don’t want to turn up and have one or two mammoth crochet items that I’m charging £20 for. I began to rack my brain, aware of the constrictive time frame, and thought long and hard about it. Most of the women would be mothers or grandmothers, the event was free so they wouldn’t want to spend much money, and also it had to be quick and relatively easy to make. Well I came up with a couple of things (some for another post I think), but the one I really liked was a tooth fairy pillow.
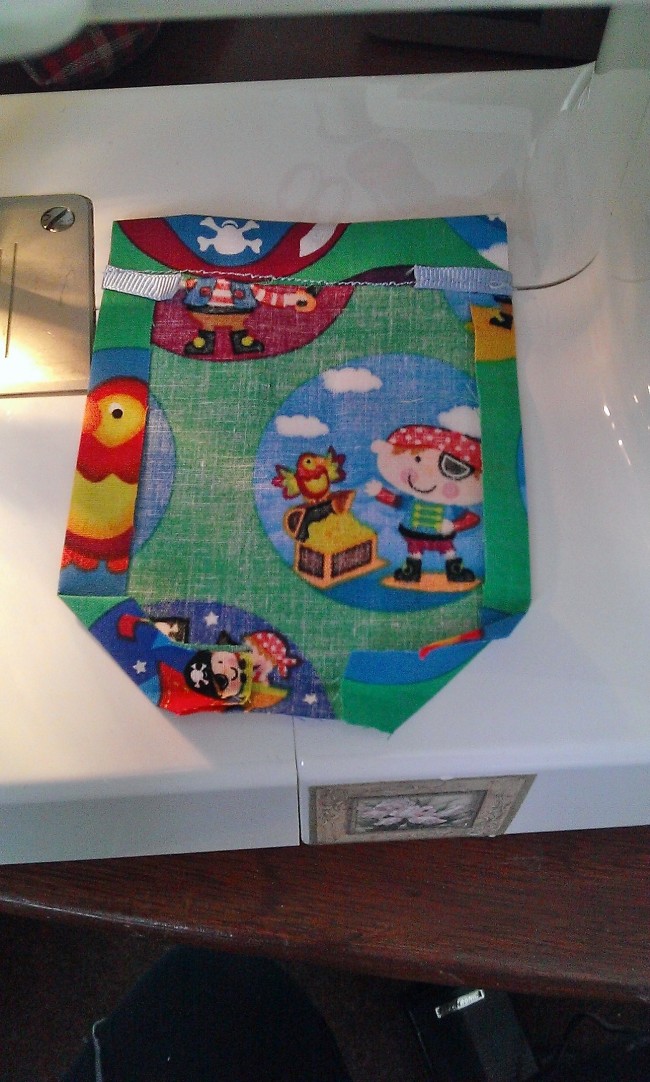
When it comes to handmade items for children, you really want something that is useful, will last, and will be treasured. I think my pillows are just that. They’re are just small pillows with a pocket on the front into which the small person can leave a tooth for the tooth fairy. This way said tooth fairy won’t have to rummage under said small persons pillow and risk waking them up. I also like the idea that as they get older this could be used as a treasure pocket. Small people love treasure. That was it. I was away. Flowery fabric and lace for girls, pirate fabric for boys (though my little Bobbin prefers the pirates – can’t please everyone). I sat down to my machine and….. I have never made a pocket before! Now what? I got out my sewing handbook, which basically told me to stop being daft because everyone can sew pockets. Hadn’t I seen the Great British Sewing Bee?! So, I blindly cut the material into rectangles, got the iron and lots of pins and set to work. First of all I pressed the material into a pocket shape. I used the OH’s shirt pocket as a guide, I then top stitched the top hem on the machine with some ribbon to hide the stitching…ahem… After this it was time to top stitch the pocket on to the front of the pillow. This was actually much easier than I thought. Sewing machines are designed to help you stitch straight, you just have to concentrate. I find sticking out your tongue helps.

 Then it was the fun bit, sewing the two sides together, nothing is more fun than putting your foot down on a sewing machine pedal and really going for it! Top tip, when making anything with square corners, leave the needle in the fabric, lift the foot and turn the piece (as shown below) and then you don’t lose your stitch line. But you probably knew that already.
 After turning stuffing and slip stitching shut, I found that I had actually come up with a nice little pillow which is perfect for little tiny people, so I made eight. Fingers crossed there is at least someone there with a wobbly tooth
!


Well done you! These are just beautiful. .what a clever girl and lovely idea for a gift to a little one. Love your writing, very entertaining! 🙂
Thank you very much :-). We still have a couple that we use to store little treats in 🙂